Quickstart
This guide will get you up and running with a local instance of the EPOS Platform in just a few minutes. By the end, you'll have a fully functional data catalogue populated with example metadata.
Prerequisites
Before you begin, make sure you have the following installed and running:
- Docker: The EPOS Platform runs in containers, so you'll need Docker. Learn how to install Docker.
- System Requirements: At least 4GB of RAM, 2 CPU cores, and 10GB of free storage.
- A command-line terminal: The installation is done via the command line.
1. Install the EPOS CLI
First, you need to install the epos-opensource command-line interface (CLI). This tool will handle the deployment and management of your platform. Choose the tab for your operating system below.
- Linux / macOS
- Windows
You can install the CLI with a single command in your terminal:
curl -fsSL https://raw.githubusercontent.com/EPOS-ERIC/epos-opensource/main/install.sh | bash
For Windows, you'll download the command-line tool directly:
- Go to the EPOS open source releases page.
- Download the latest file named
epos-opensource-windows-amd64.exe. - Rename the downloaded file to
epos-opensource.exe. - Move this file to a memorable location, for example,
C:\epos.
To use the CLI, you will need to open a terminal (like Command Prompt or PowerShell) and navigate to the folder where you saved epos-opensource.exe. For example:
cd C:\epos
All subsequent epos-opensource commands in this guide should be run from that terminal session.
To make sure it's installed correctly, open a new terminal and run:
epos-opensource --version
You should see an output like epos-opensource version v2.0.0 (the exact version number may vary).
For more detailed installation instructions, including how to build from source, see the CLI Tool documentation.
Updating the CLI
To keep your CLI up to date, you can use the update command. It is the recommended way to get the latest version.
epos-opensource update
When upgrading across major versions (for example, from v1.x to v2.x), read the release notes carefully. v2.0.0 introduces breaking changes in local state handling.
2. Deploy the Platform
Now, with Docker running, you can deploy the entire EPOS Platform with a single command. Choose a name for your platform instance (e.g., my-epos-platform).
- Interactive TUI (Recommended)
- Command Line
Launch the interactive TUI:
epos-opensource
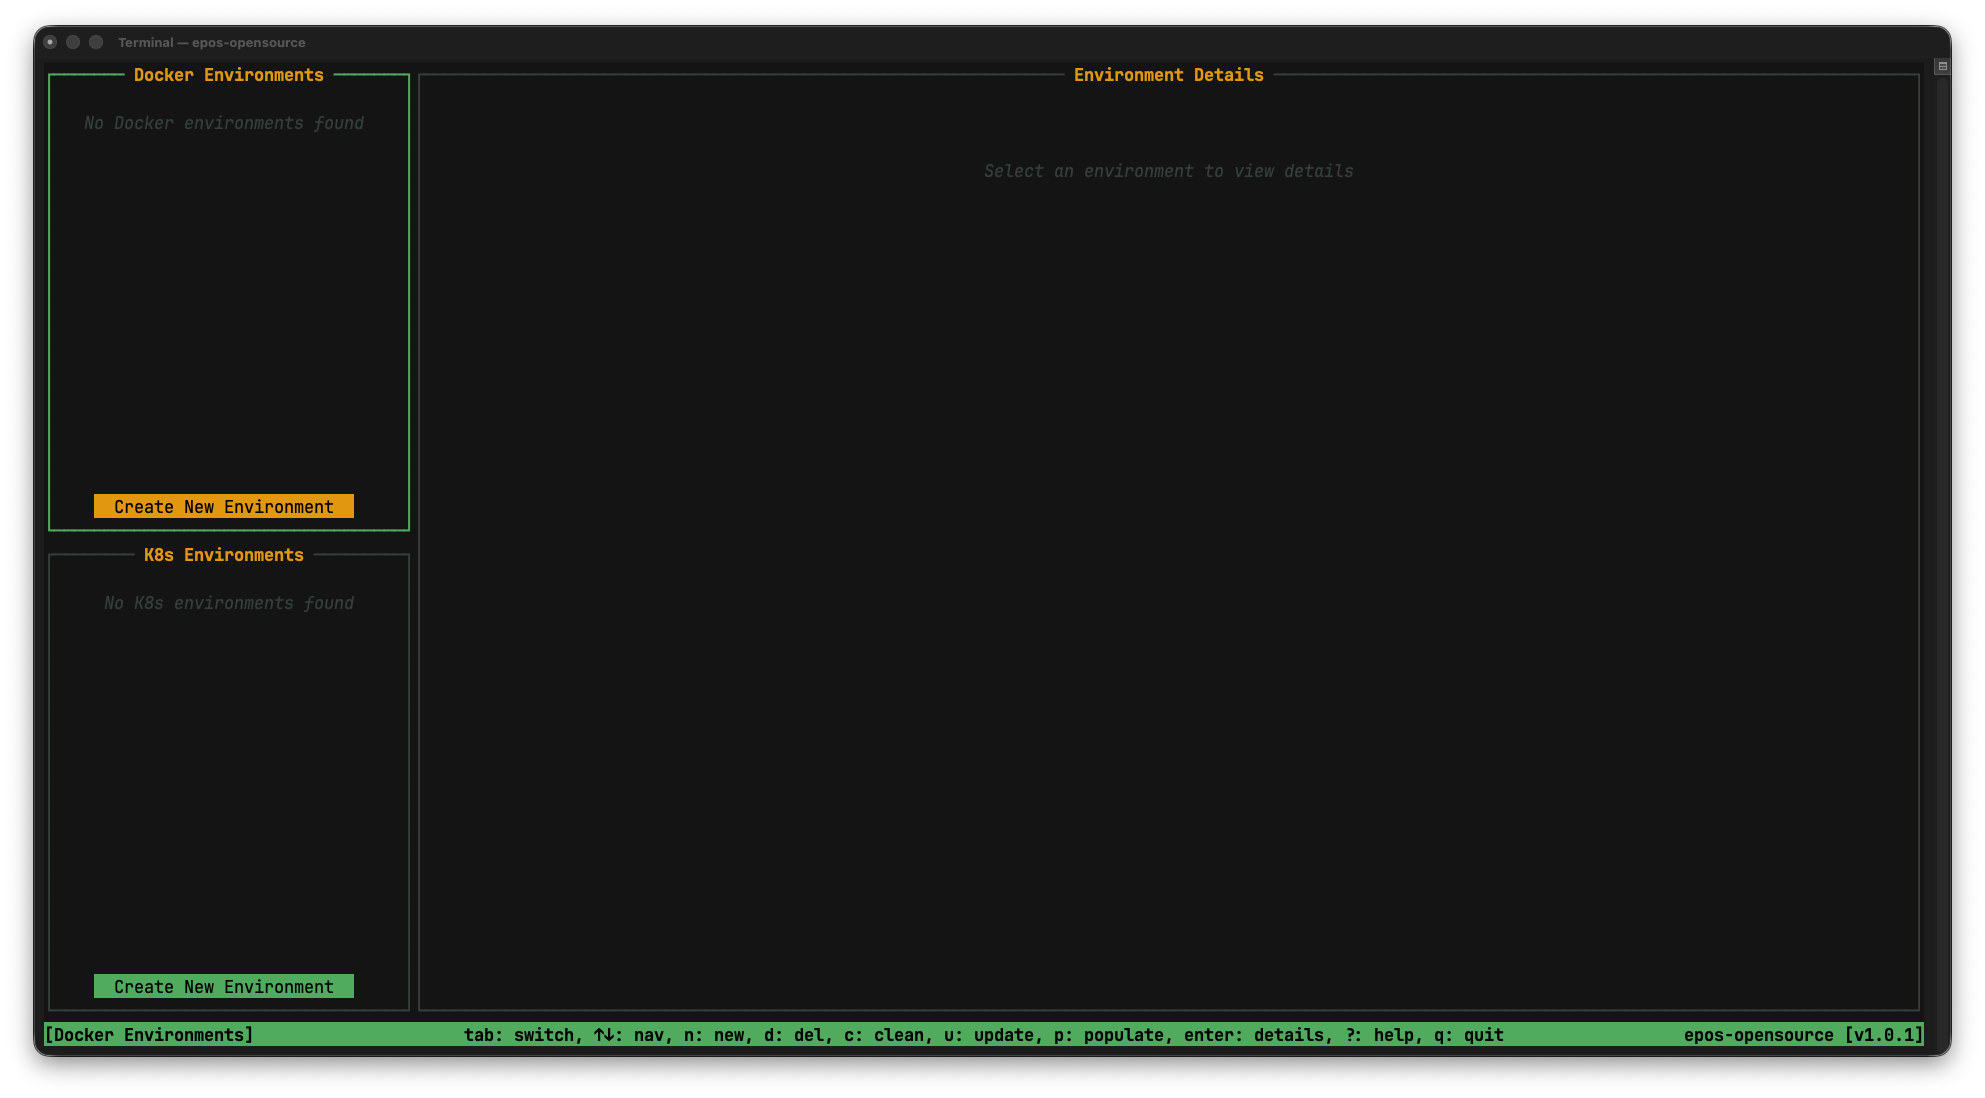
Click on the Create New Environment in the Docker Environments section.
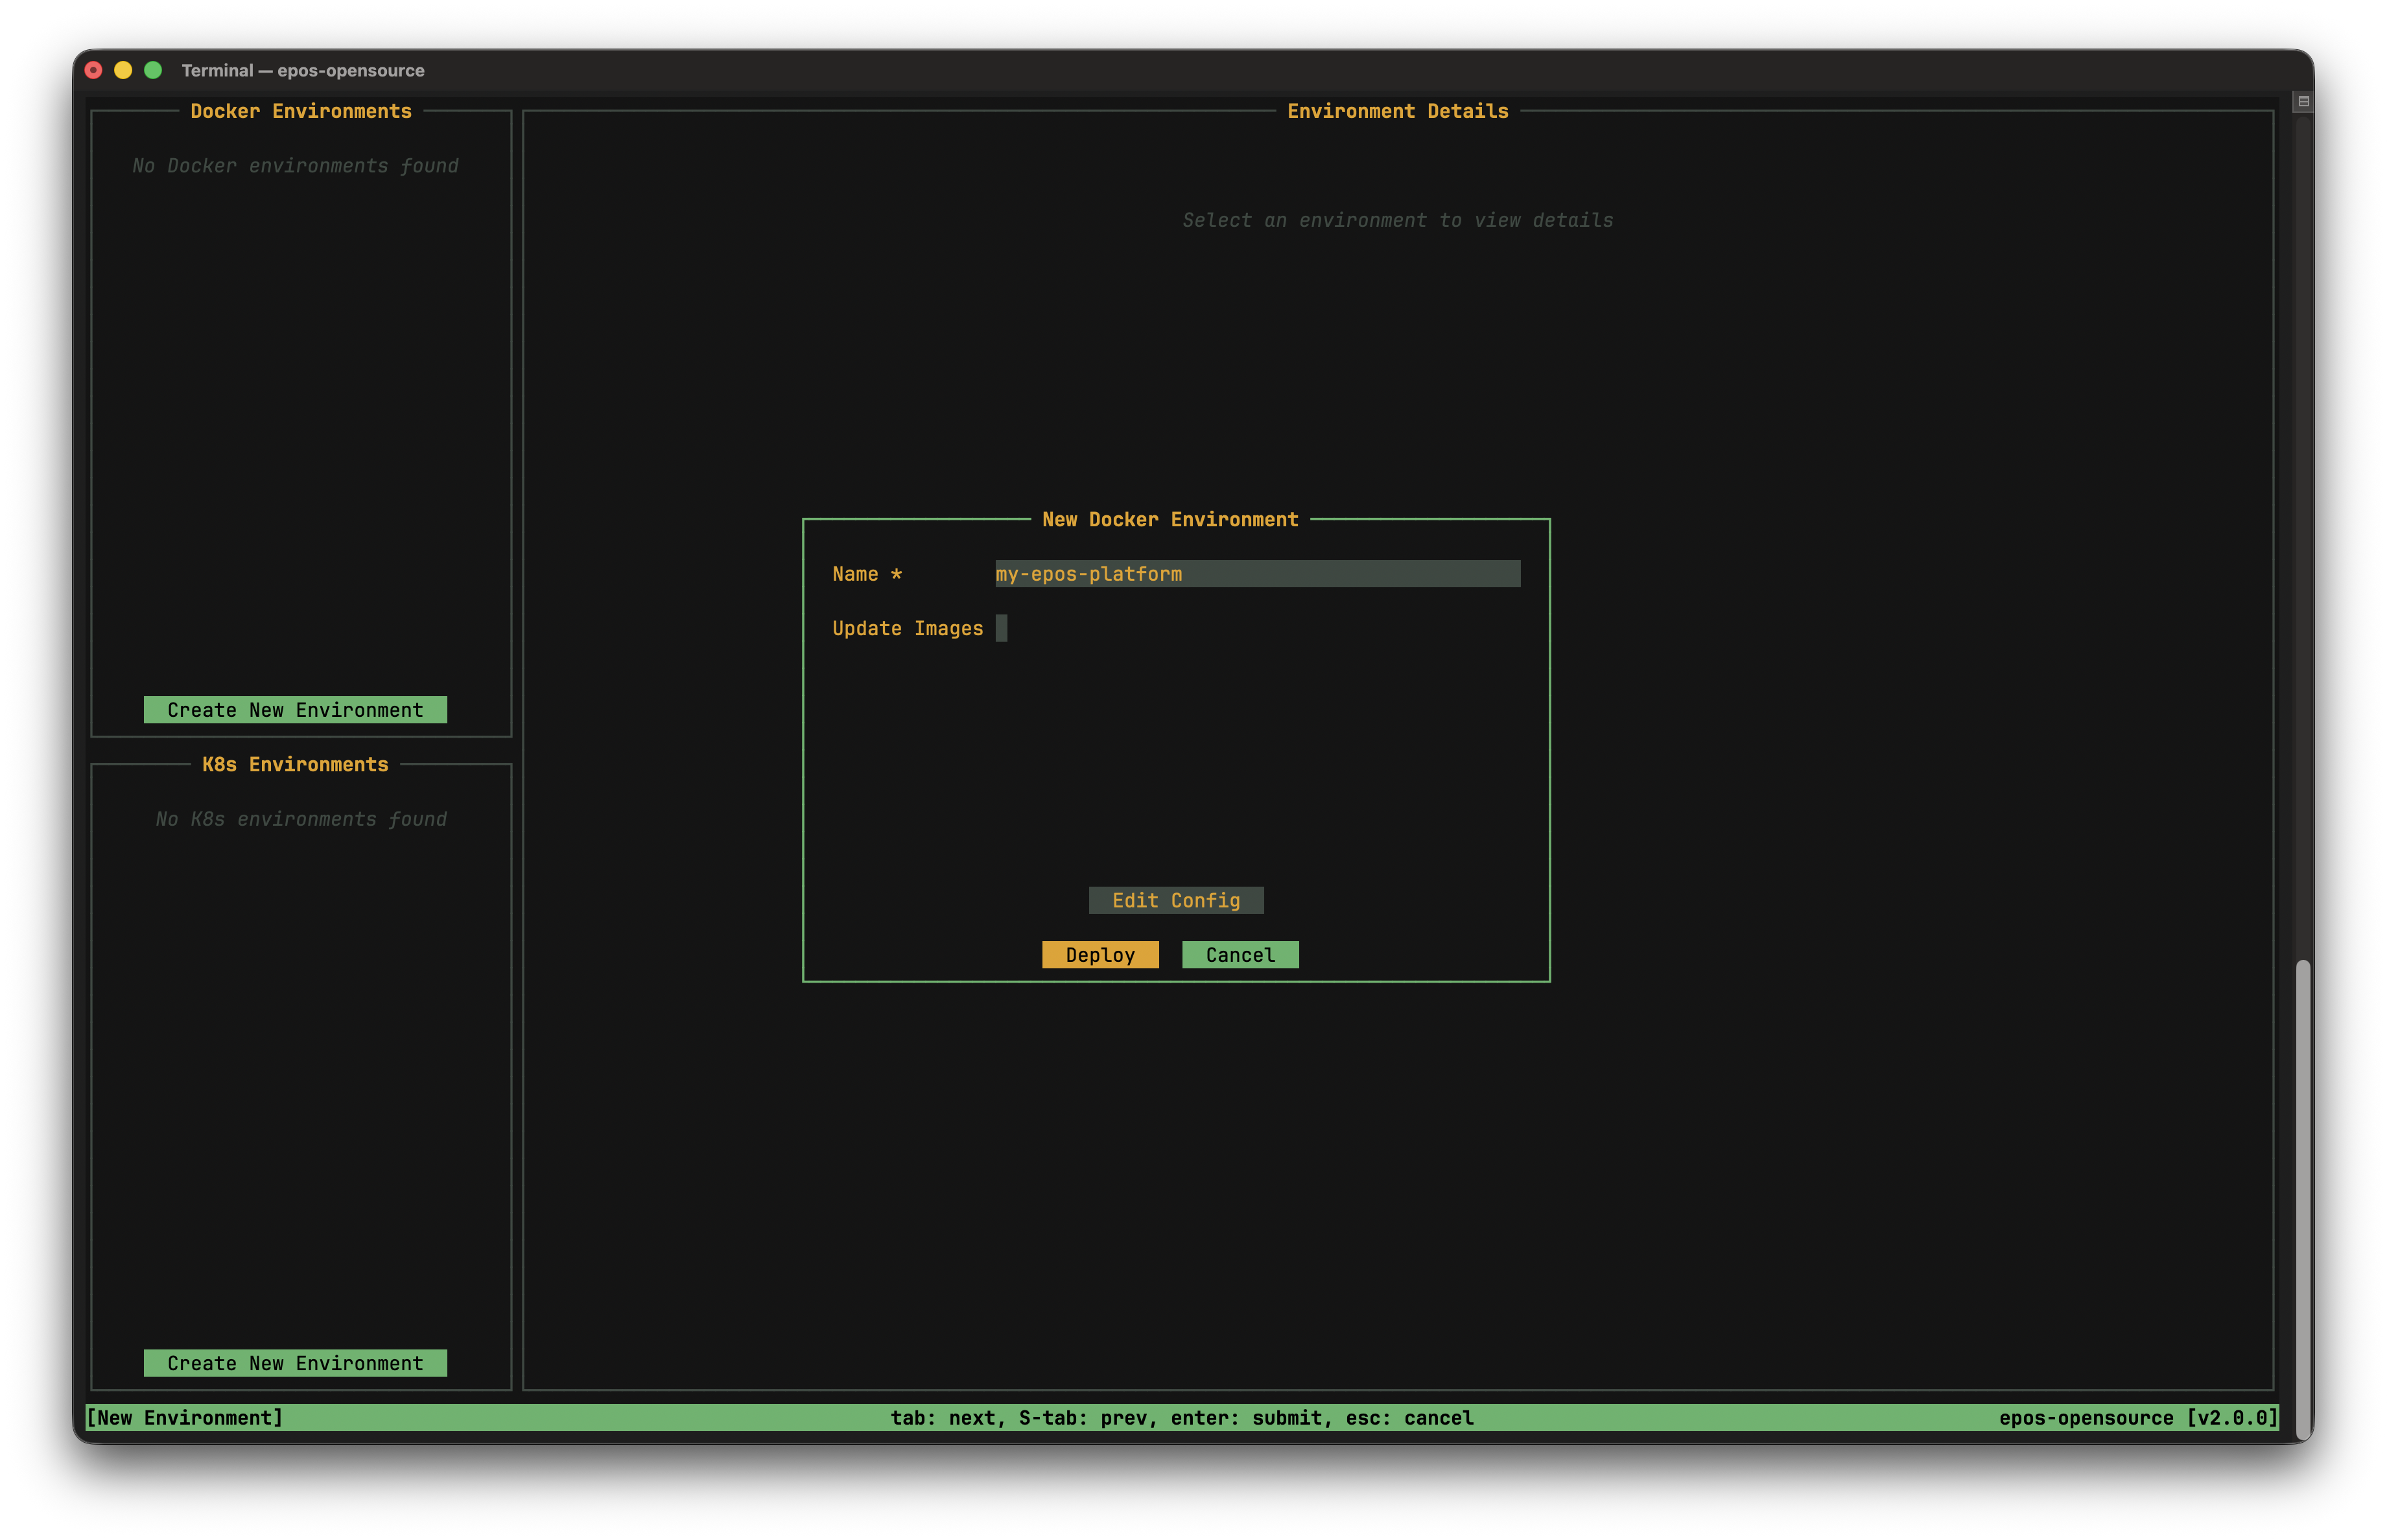
Enter your environment name (e.g., my-epos-platform) and confirm to start the deployment.
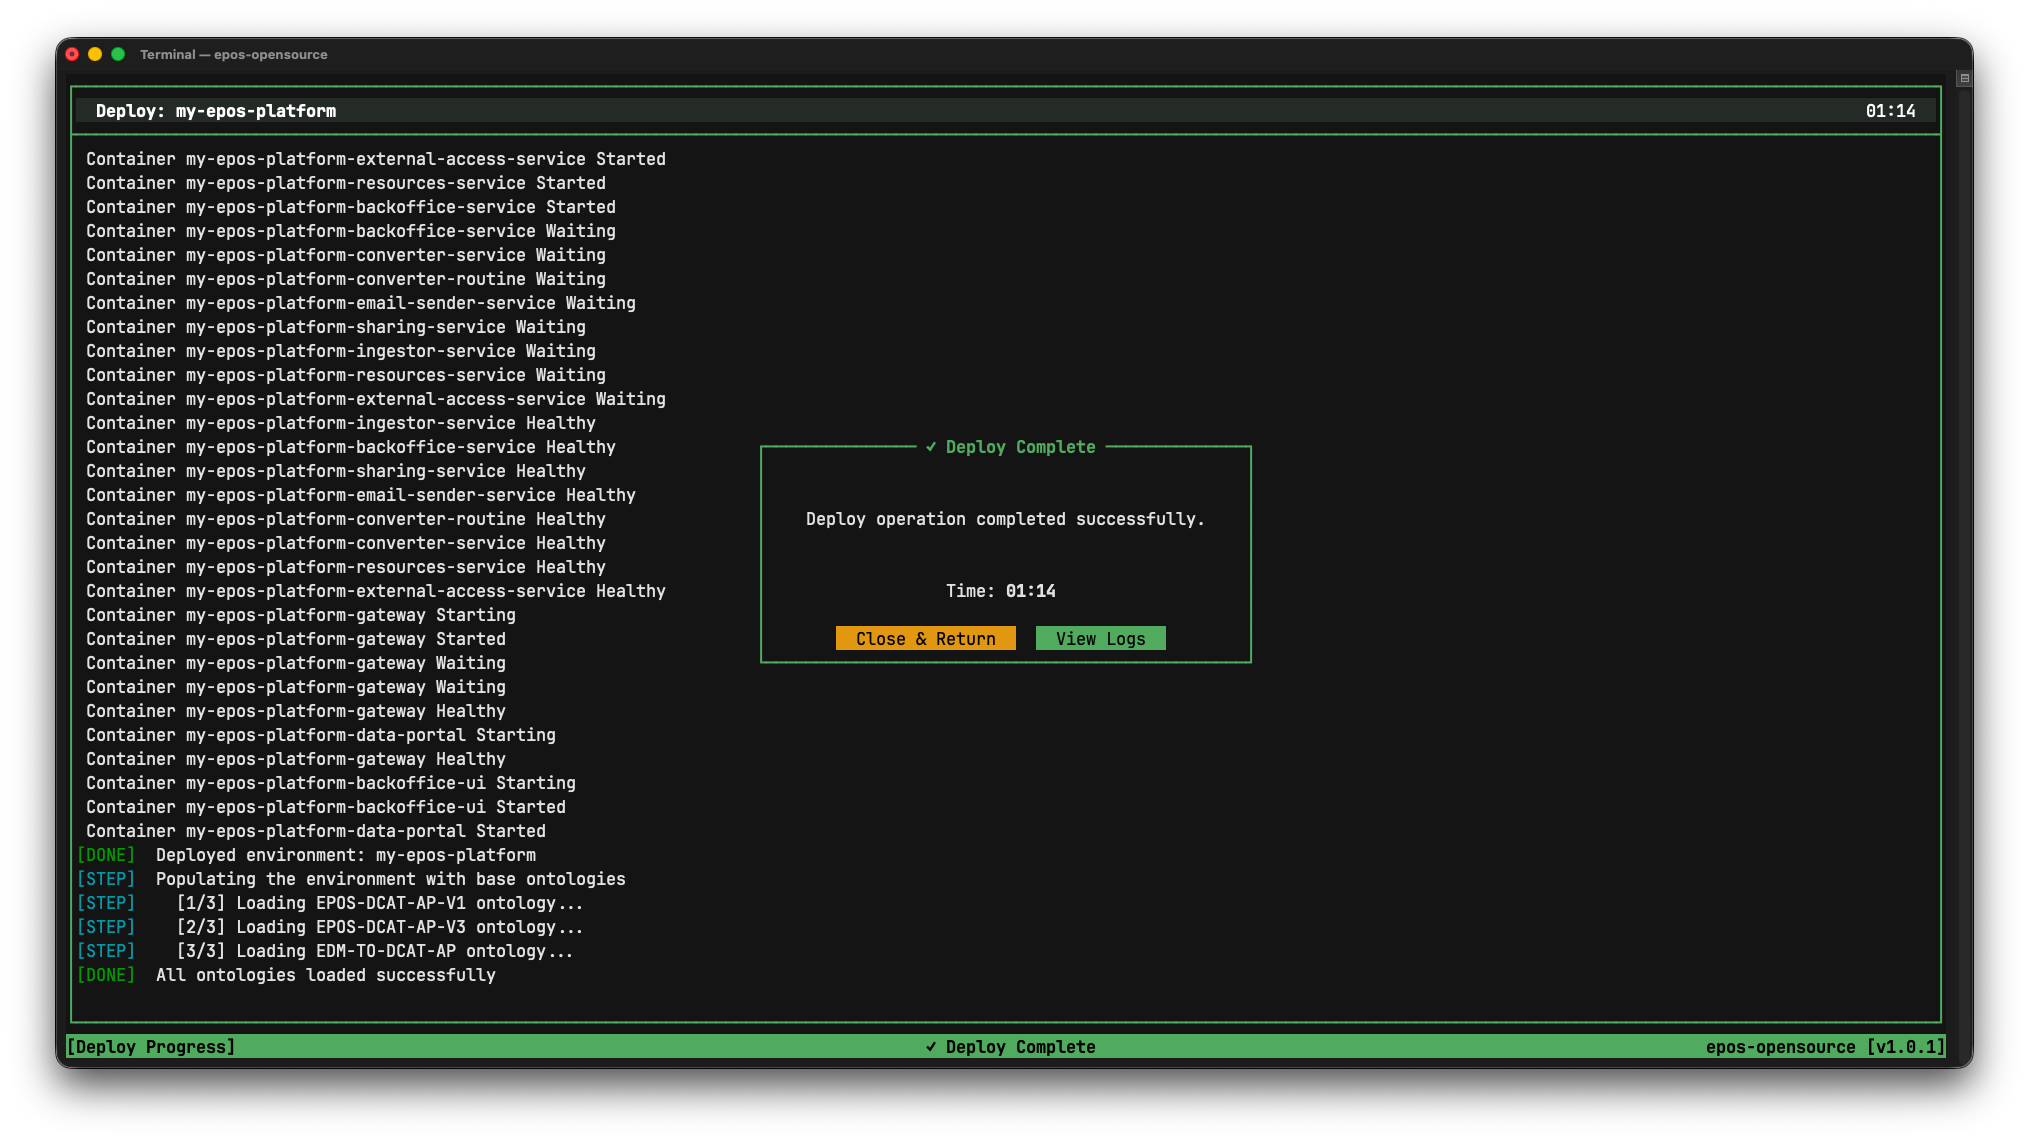
The TUI will show progress as Docker images are downloaded and services start.
Deploy using the CLI command:
epos-opensource docker deploy my-epos-platform
This command will download all the necessary Docker images and start the services. It might take a few minutes depending on your internet connection.
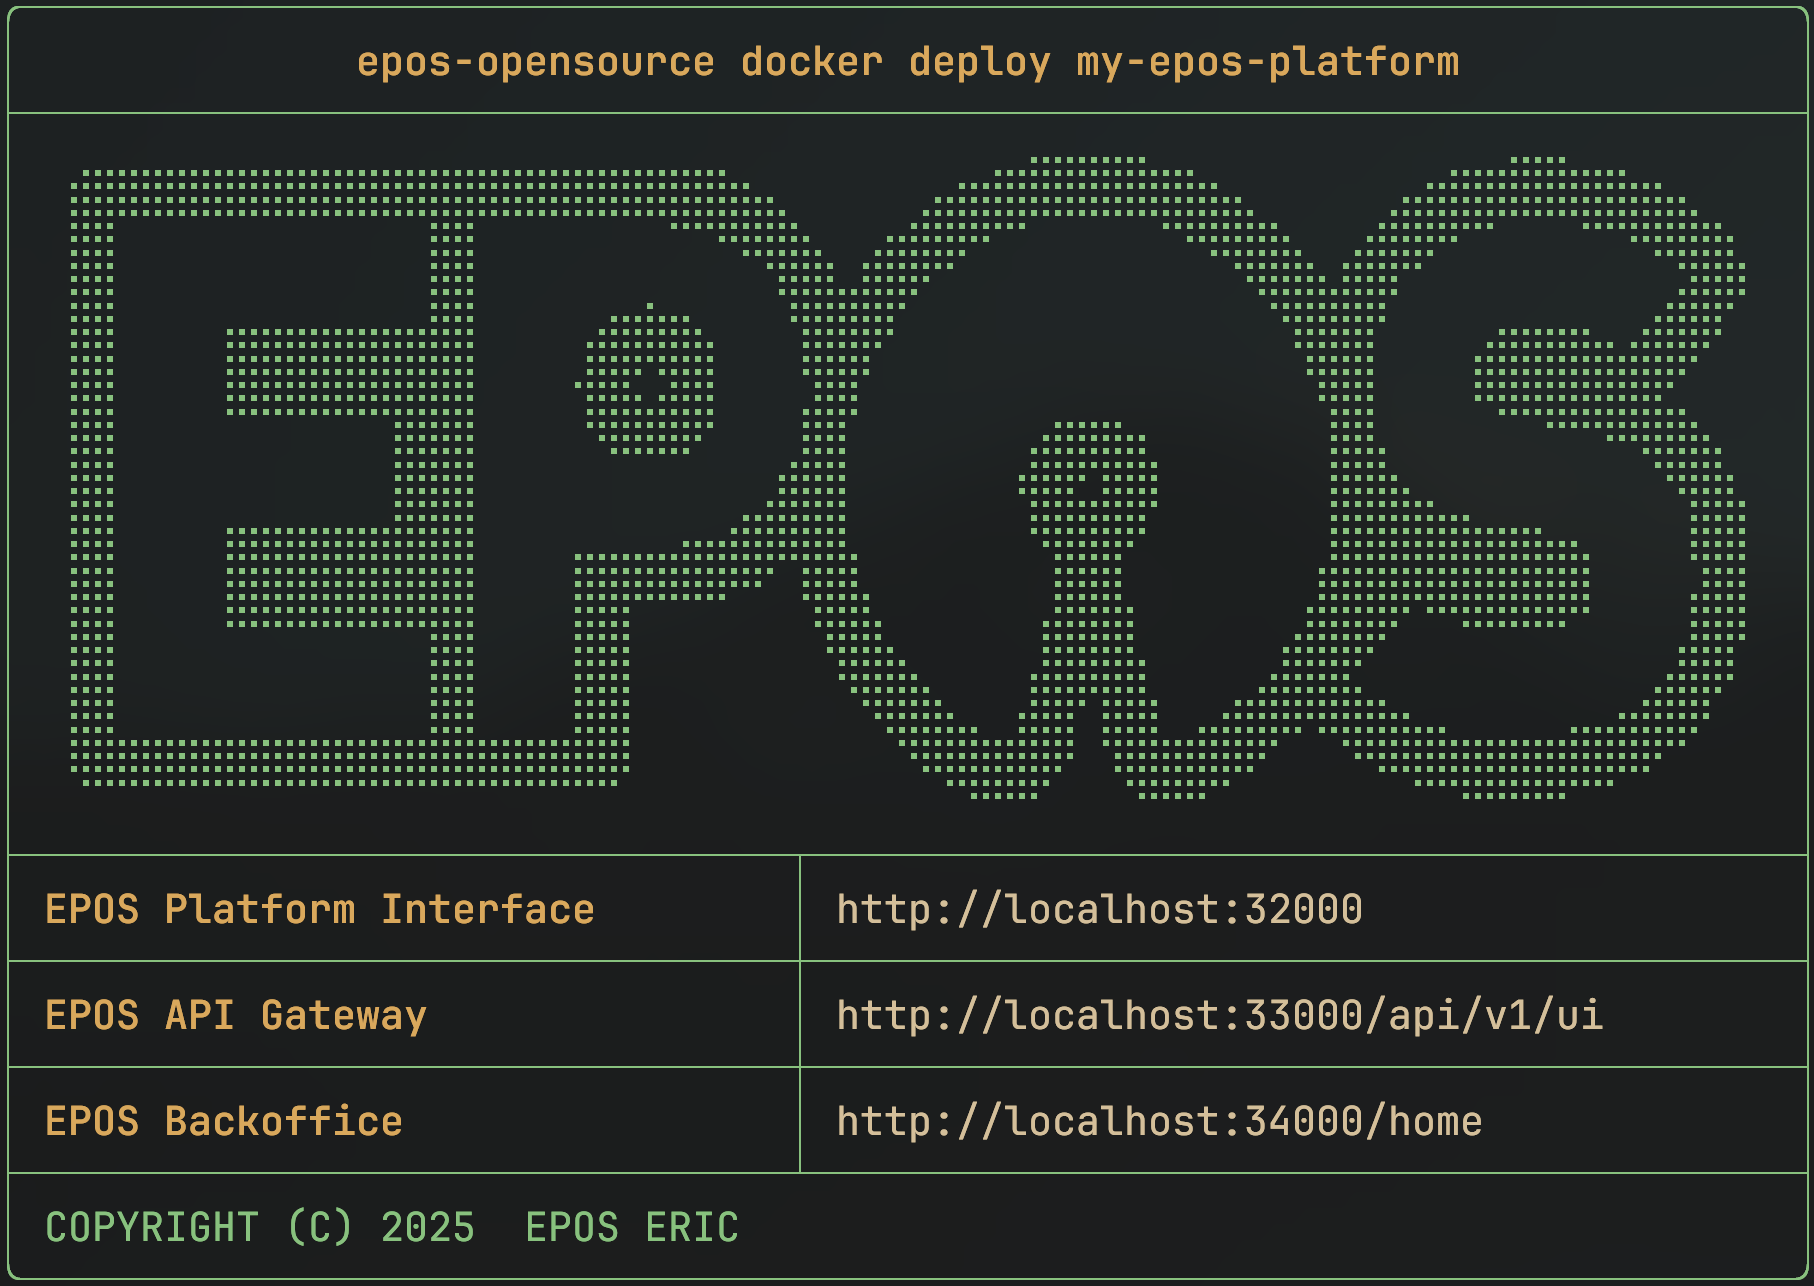
When it's done, you'll see a confirmation message with the access URLs for your new platform.
3. Populate with Example Data
To see your platform in action, you can populate it with example metadata we provide. This will create a few entries in your data catalogue.
- Interactive TUI (Recommended)
- Command Line
Navigate to a deployed environment details by clicking on it
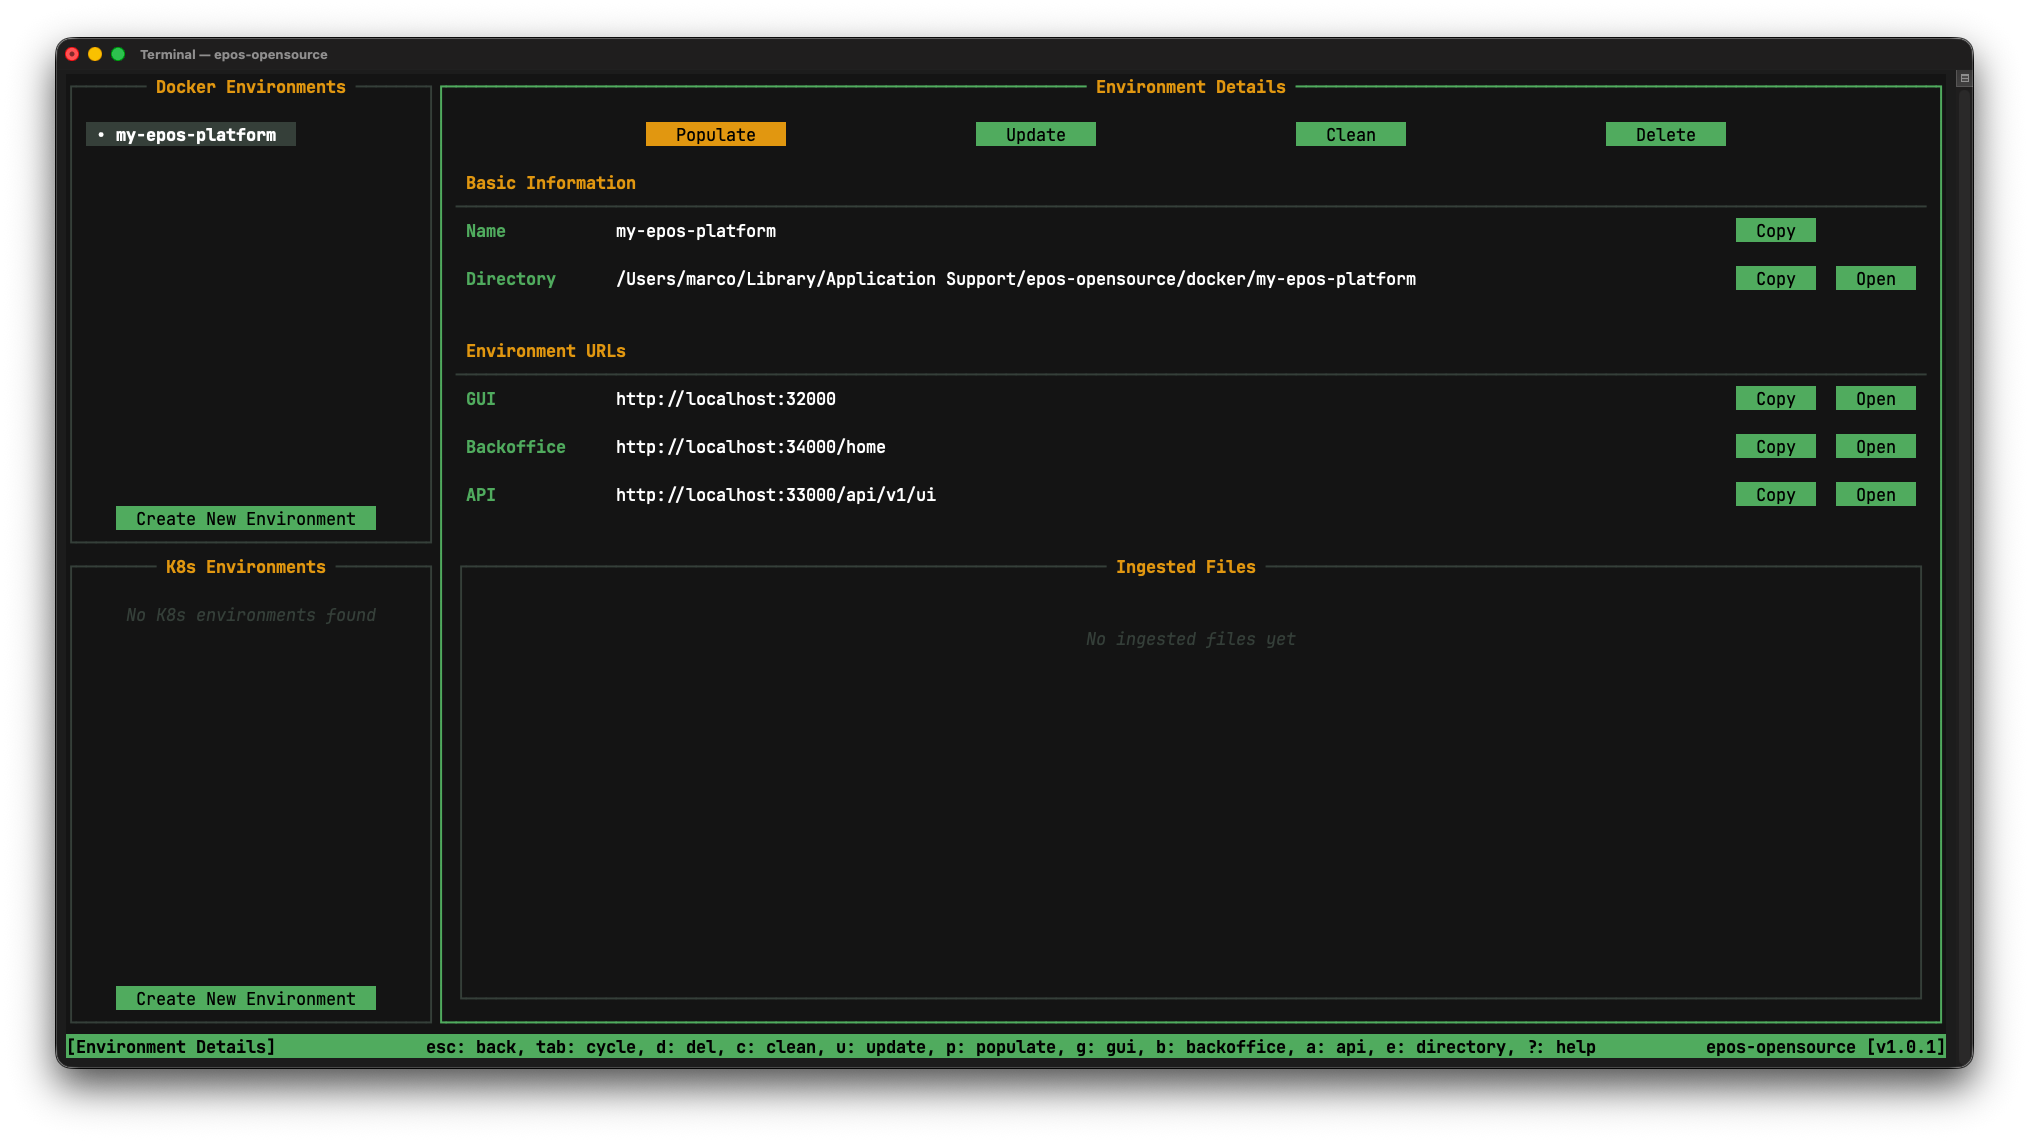
Here you can perform different actions on a deployed environment and see its options/status. As you can see in the Ingested Files section there is nothing, let's add data to our environment. Press on the Populate button
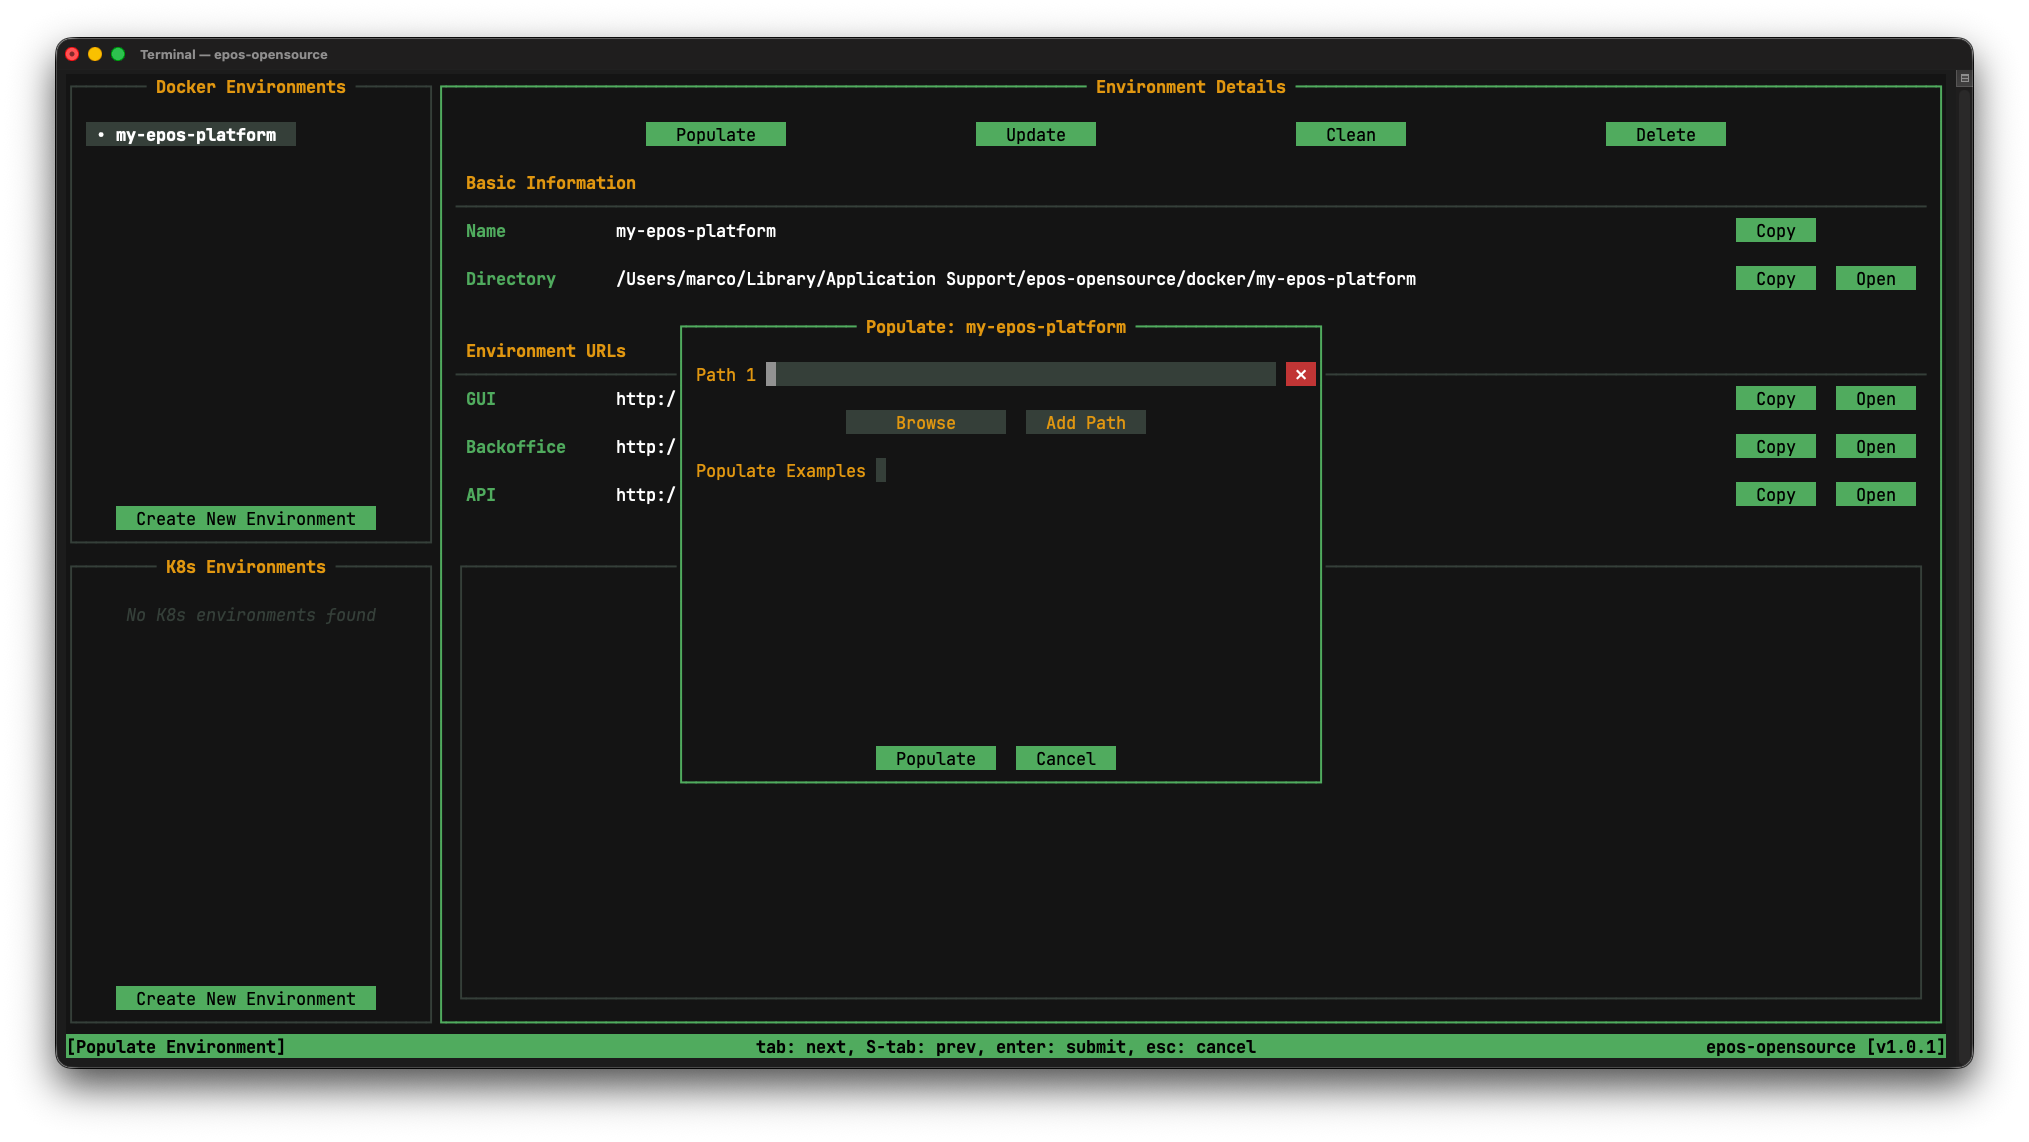
Here you can specify the paths to directories or files to ingest. You can also populate an environment with pre-provided example data by checking the Populate Examples checkbox and clicking Populate.
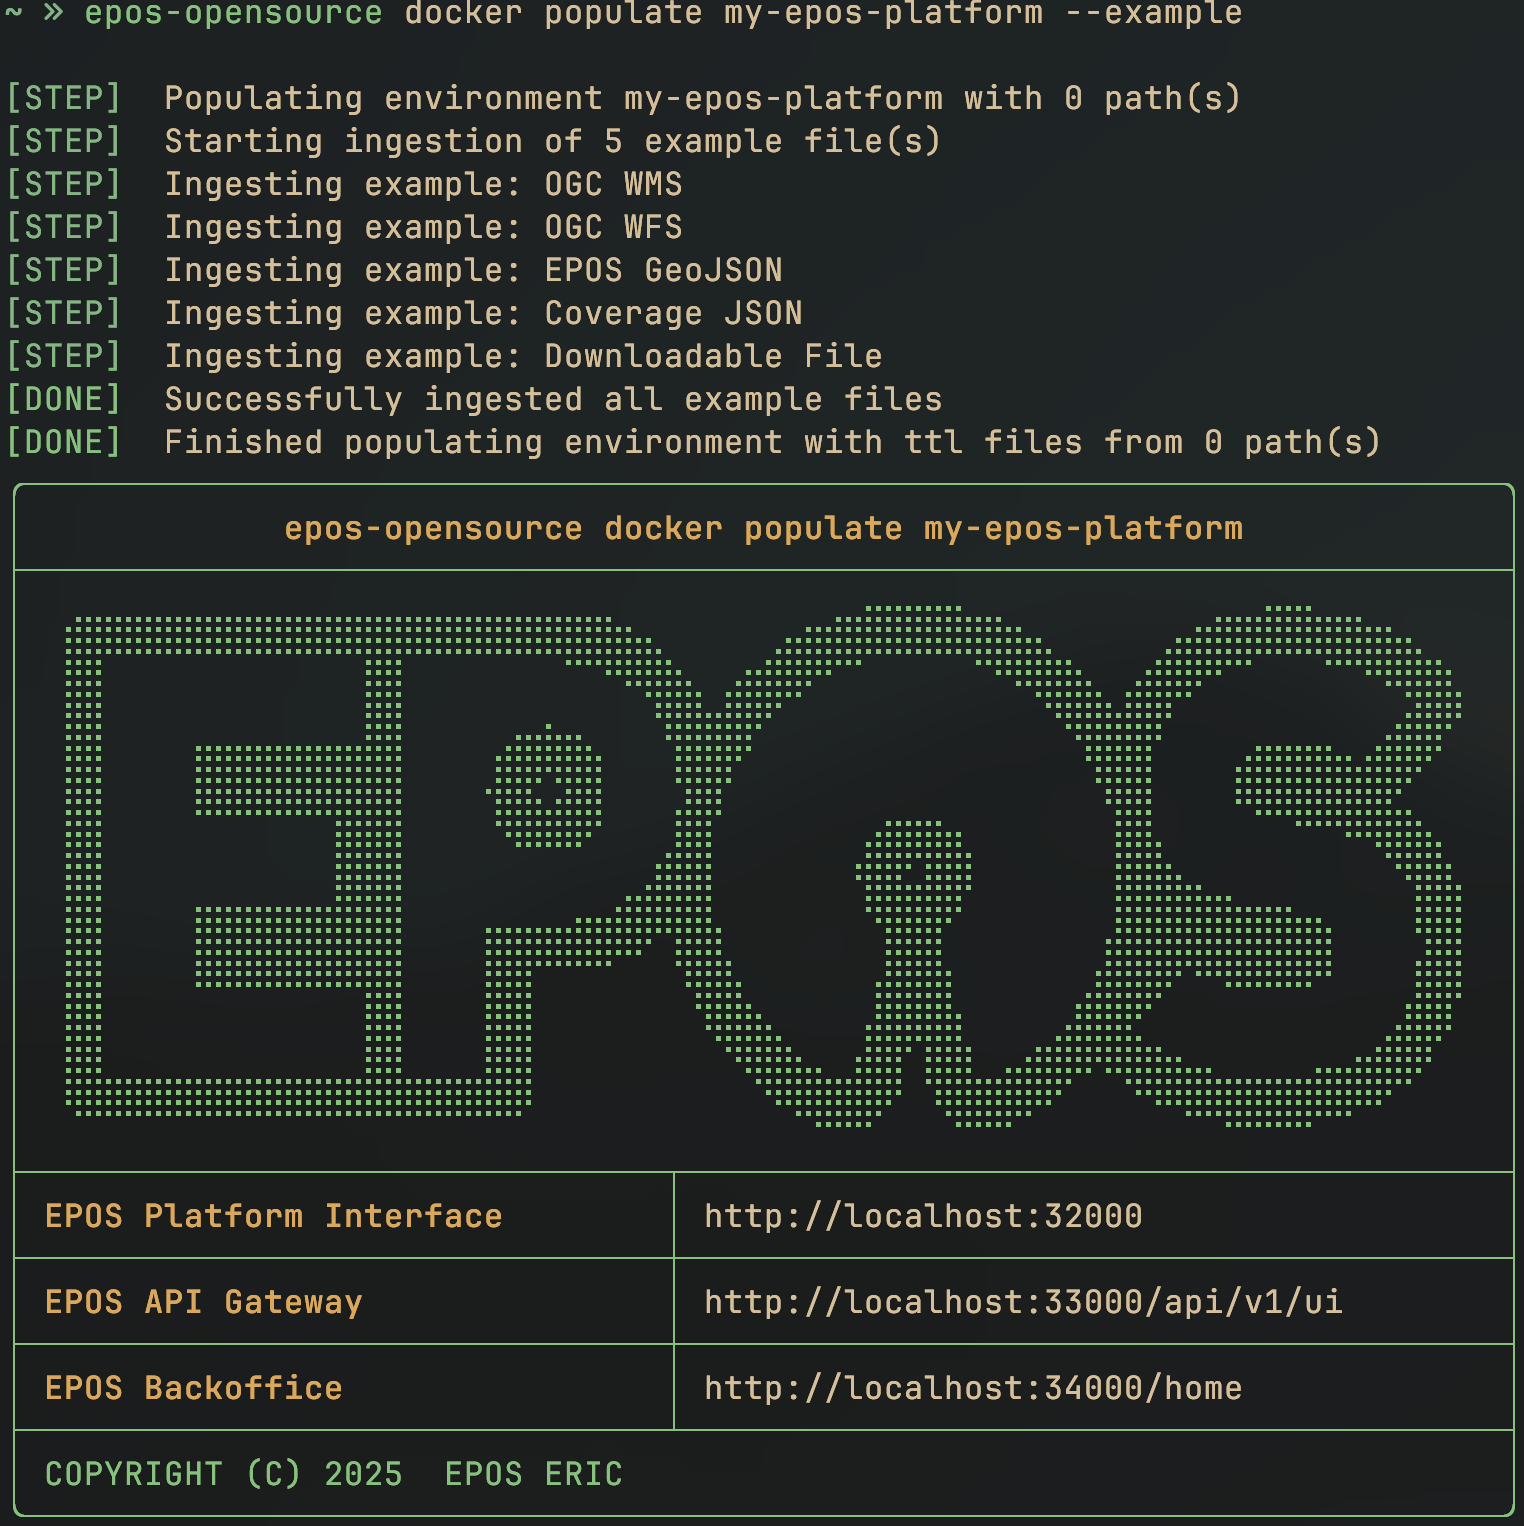
Populate using the CLI command:
epos-opensource docker populate my-epos-platform --example
Or, if you already have your own .ttl data, you can use that instead:
epos-opensource docker populate my-epos-platform ./metadata ./more-data/file.ttl
After you populate the platform, new data may take a short time to appear in the catalogue. This is expected: the platform refreshes its data in the background every so often, so waiting a little is usually enough.
If you do not want to wait, you can restart the resources-service container:
docker restart my-epos-platform-resources-service
Remember to replace my-epos-platform with the name you used when deploying the environment.
If the data still does not appear after a short wait or a restart, please open an issue on GitHub.
4. Explore Your New Platform
Congratulations, your EPOS Platform is live!
Open your web browser and go to the EPOS Platform GUI URL shown after deployment (or click Open in the TUI). The default URL is http://localhost:32000/, but use the printed URL if your machine required different ports.
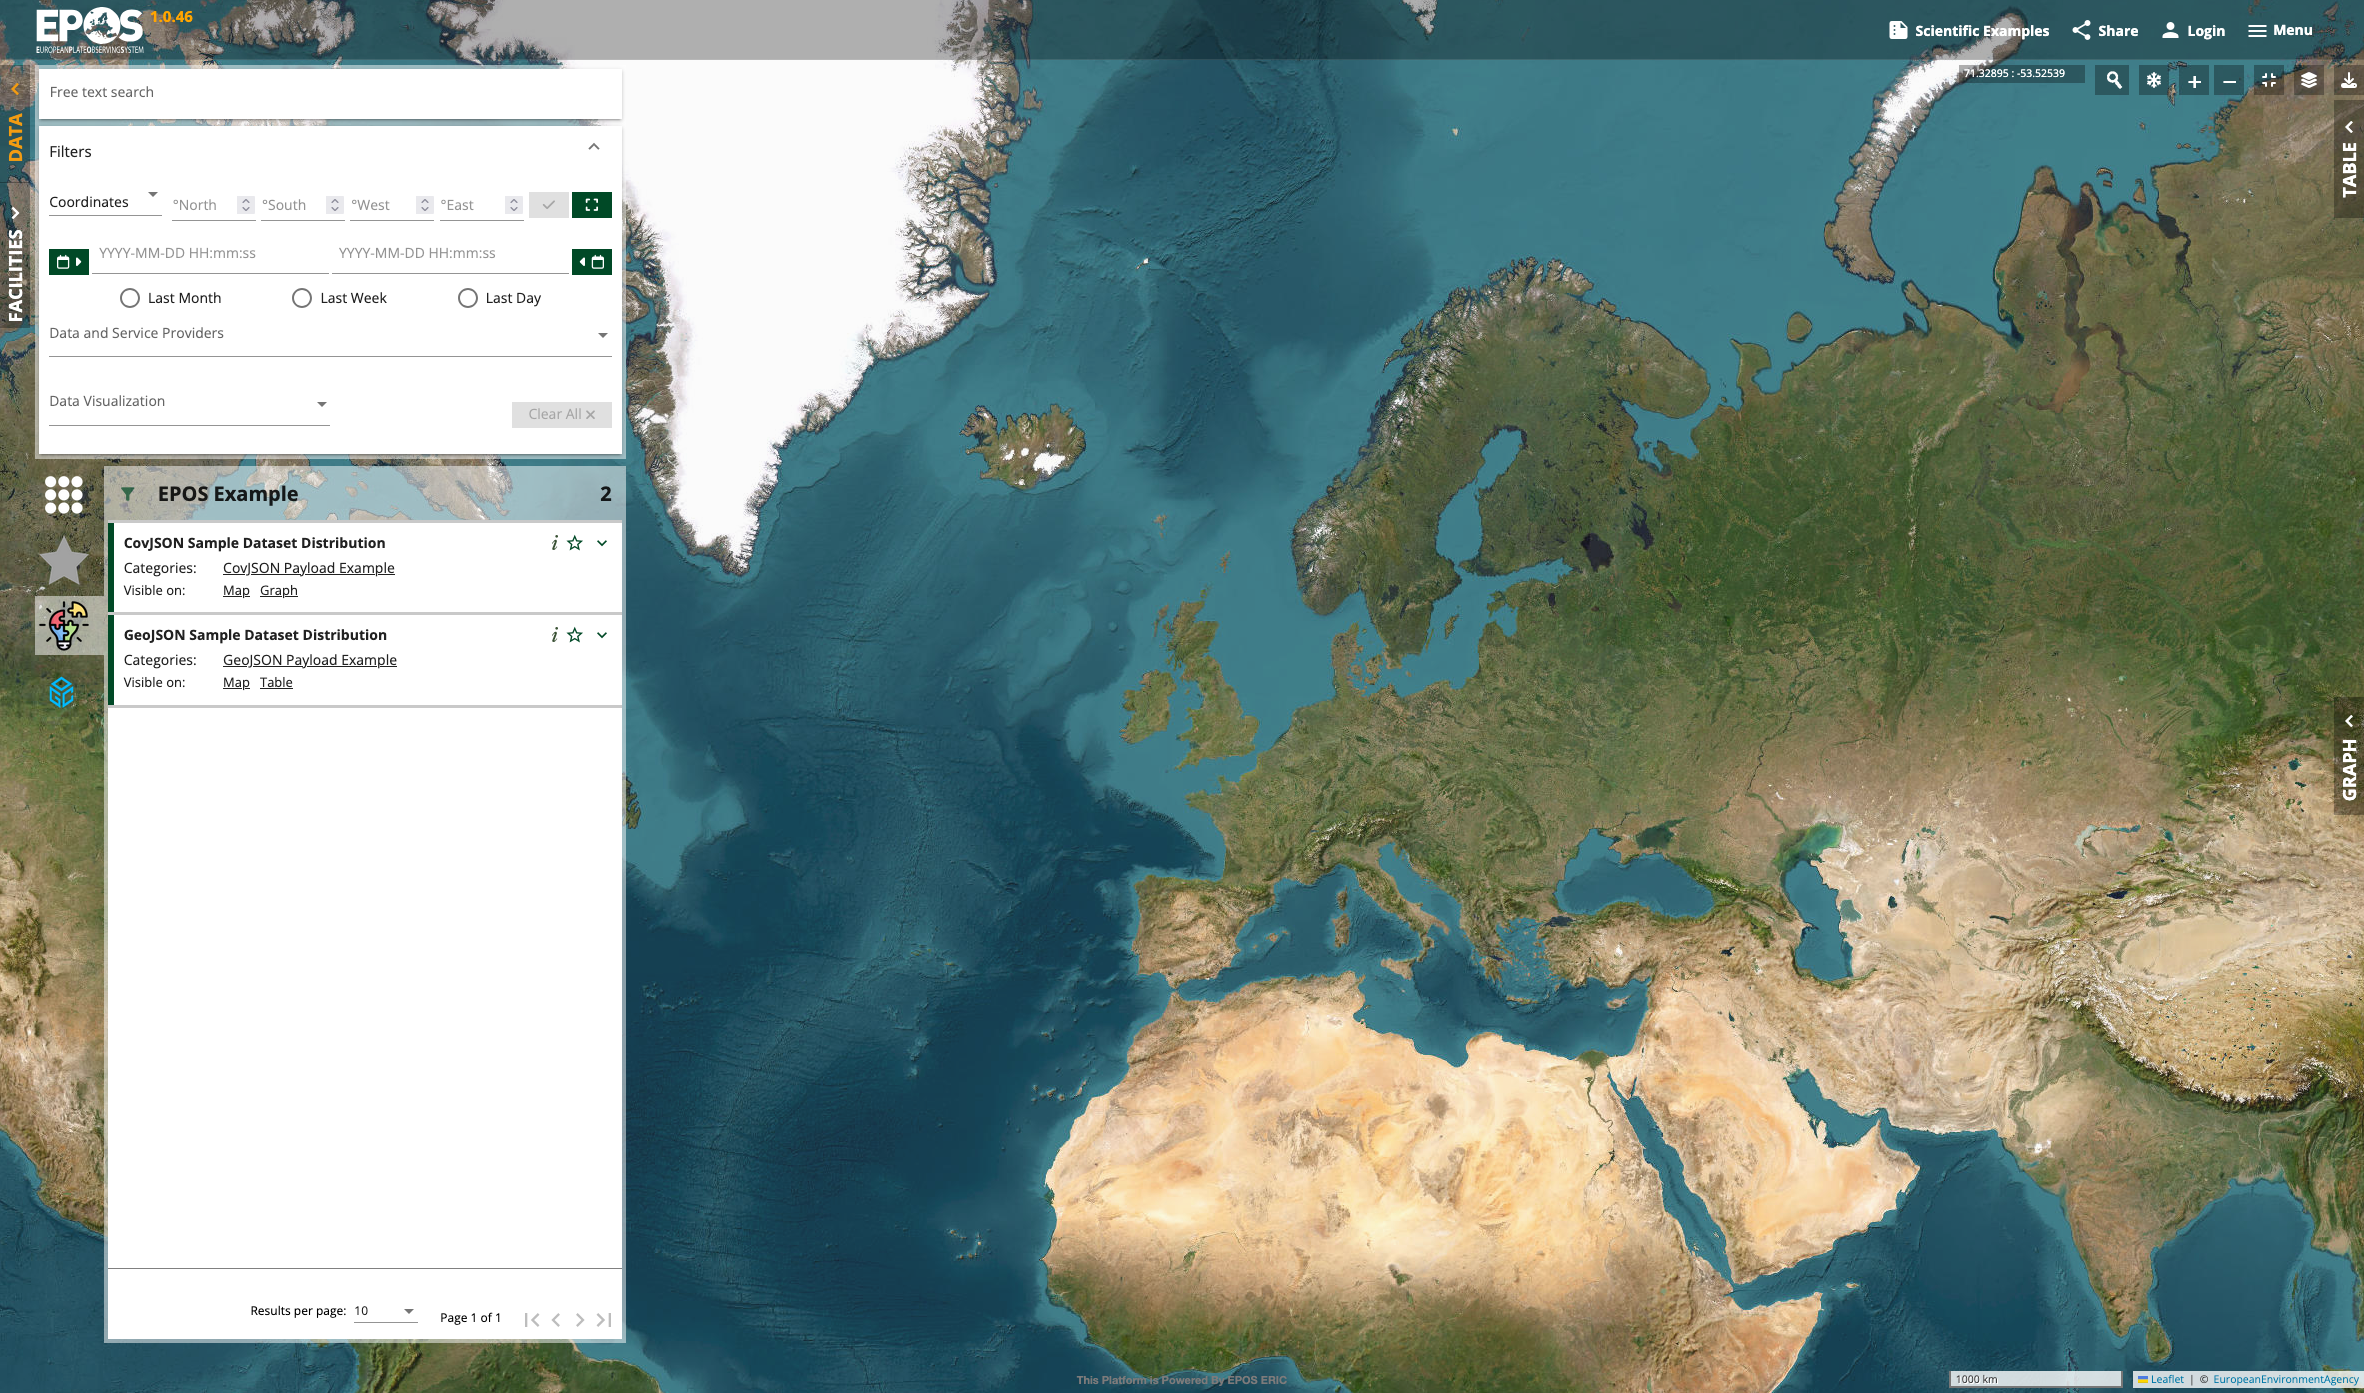
You should see the main interface for browsing and searching for geospatial services. The example metadata will appear on the top-left side of the interface.
You can also explore the API Documentation at http://localhost:33000/api/v1/ui (or the API URL printed by the CLI).
Next Steps
Now that you have a running instance, you can:
- Learn how to use the platform with the Platform Usage Guides.
- Explore advanced deployment options in the Installation Guide.
- Understand the system design by reading about the architecture.
- Add your own data by learning how to describe web services using EPOS-DCAT-AP